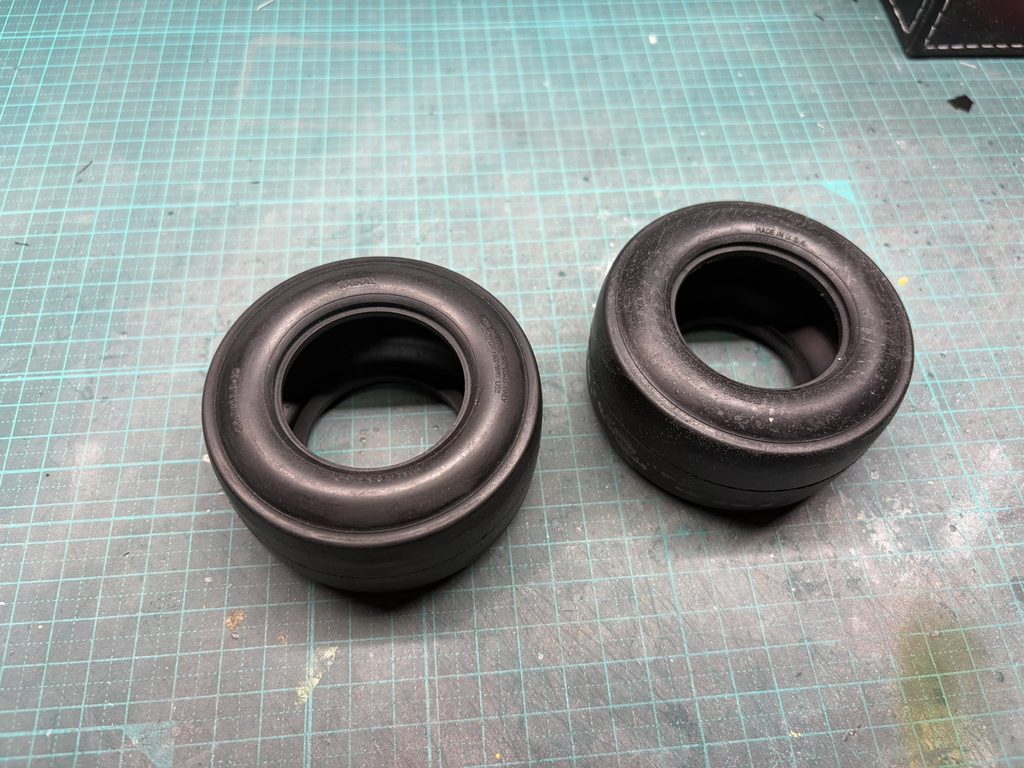
今回は、タイヤの製作に取り掛かります。
This stage of the build focuses on preparing the tires.
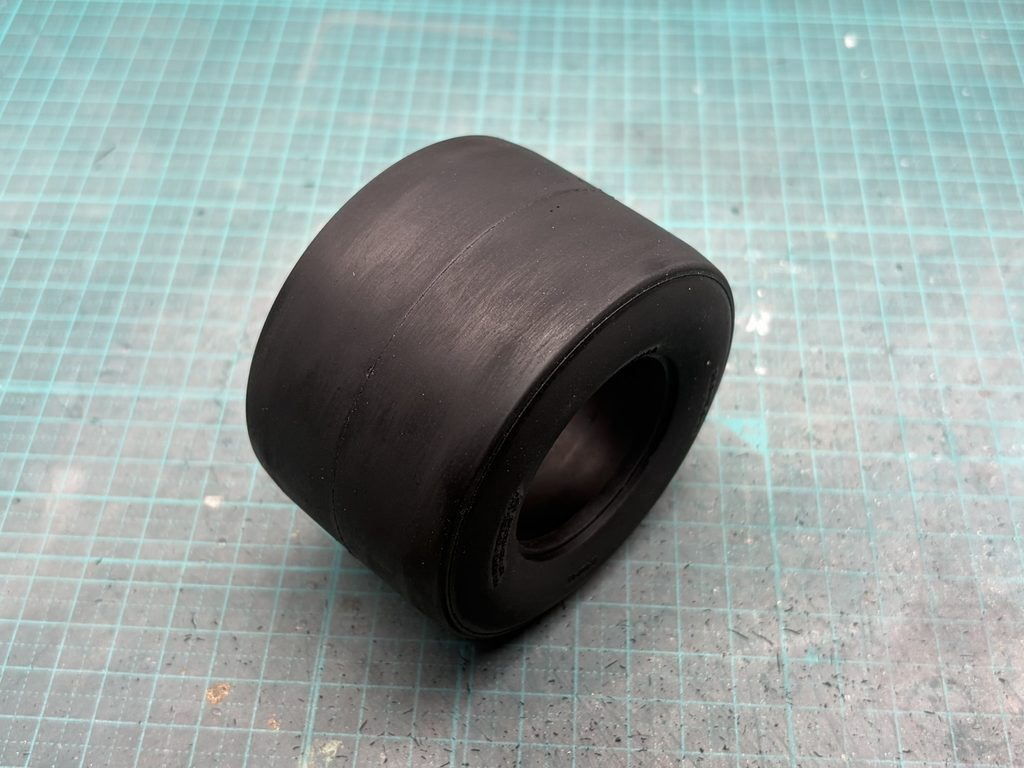
タイヤの表面全体に経年劣化が見られるため、タイヤ全体を研磨し、表面を整えていきます。
The tires show signs of deterioration due to age, so the entire surface is carefully sanded to restore a clean and uniform finish.
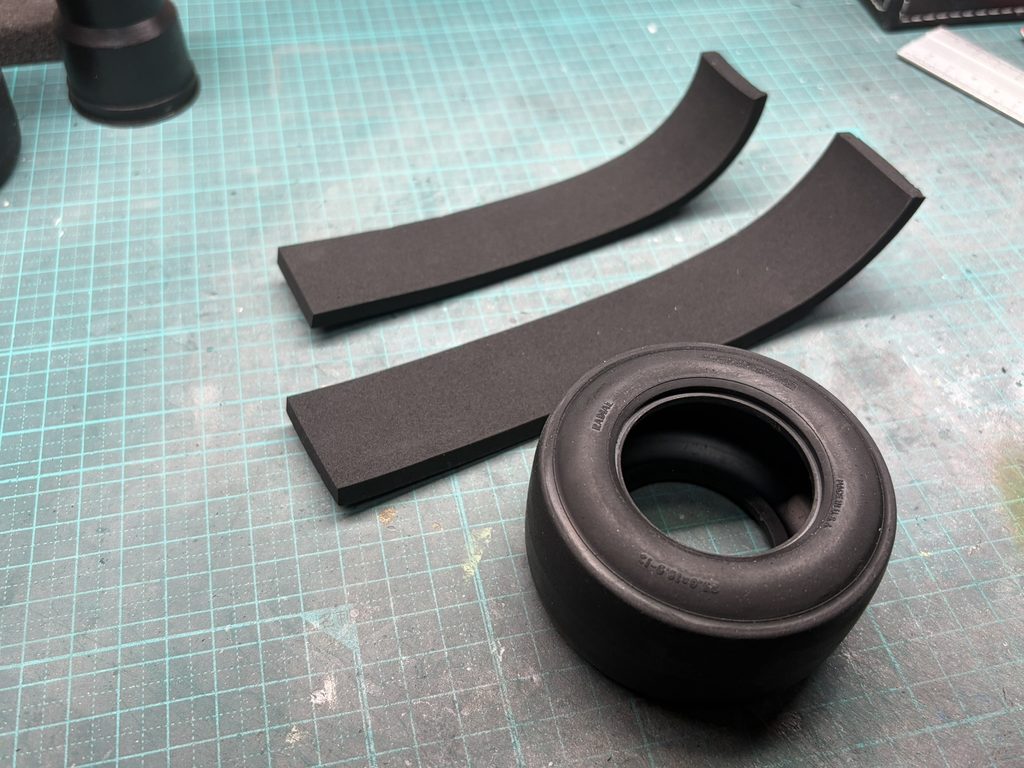
タイヤ内部にスポンジを入れ、実車のタイヤに近い適度な弾力が得られるよう調整します。
Sponge inserts are fitted inside the tires to provide the appropriate degree of softness and flexibility, giving them a more realistic feel.
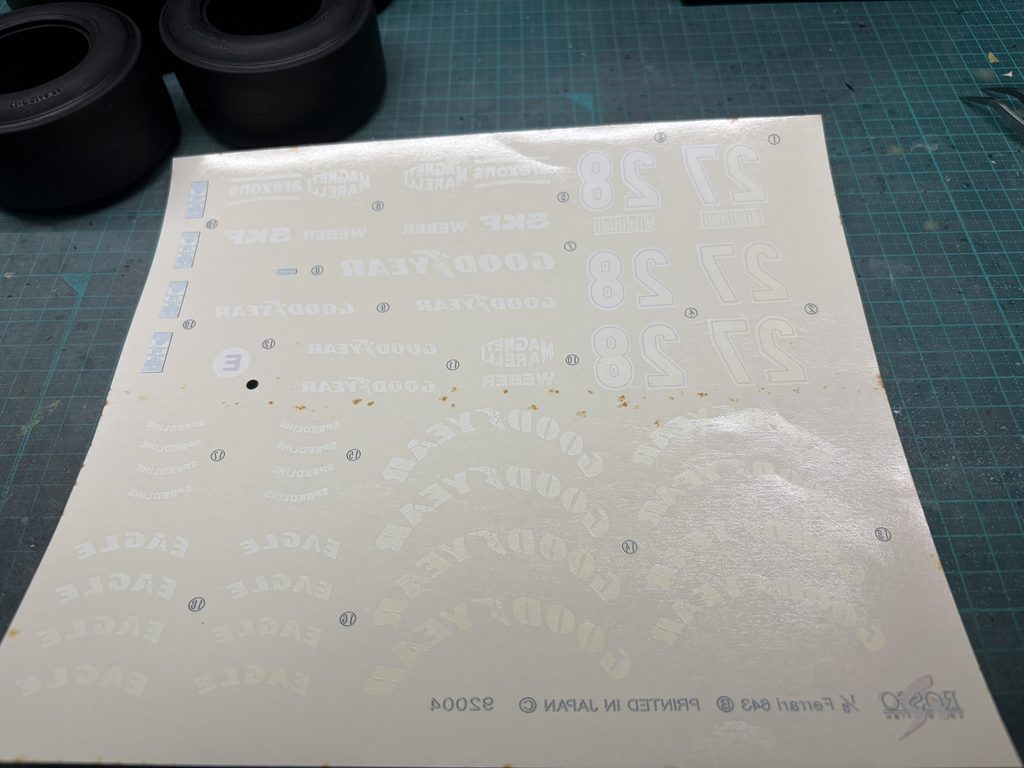
画像のように、キットではグッドイヤーのロゴをデカールで再現する仕様になっていますが、実車の雰囲気により近づけるため、今回は塗装で仕上げることにします。
As shown in the image, the kit provides decals for the Goodyear logos. However, to achieve a more authentic appearance, closer to that of the real car, I have decided to reproduce the logos using paint instead.
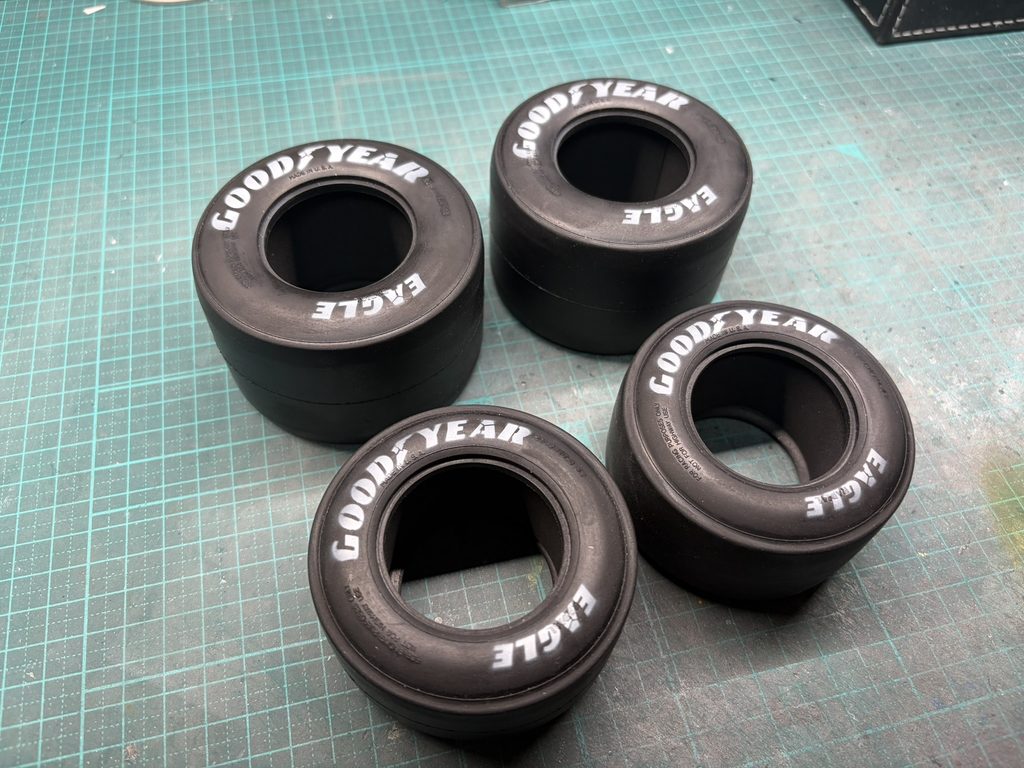
グッドイヤーのロゴの塗装が完了しました。
The Goodyear logos have now been painted, completing this stage of the tire detailing.
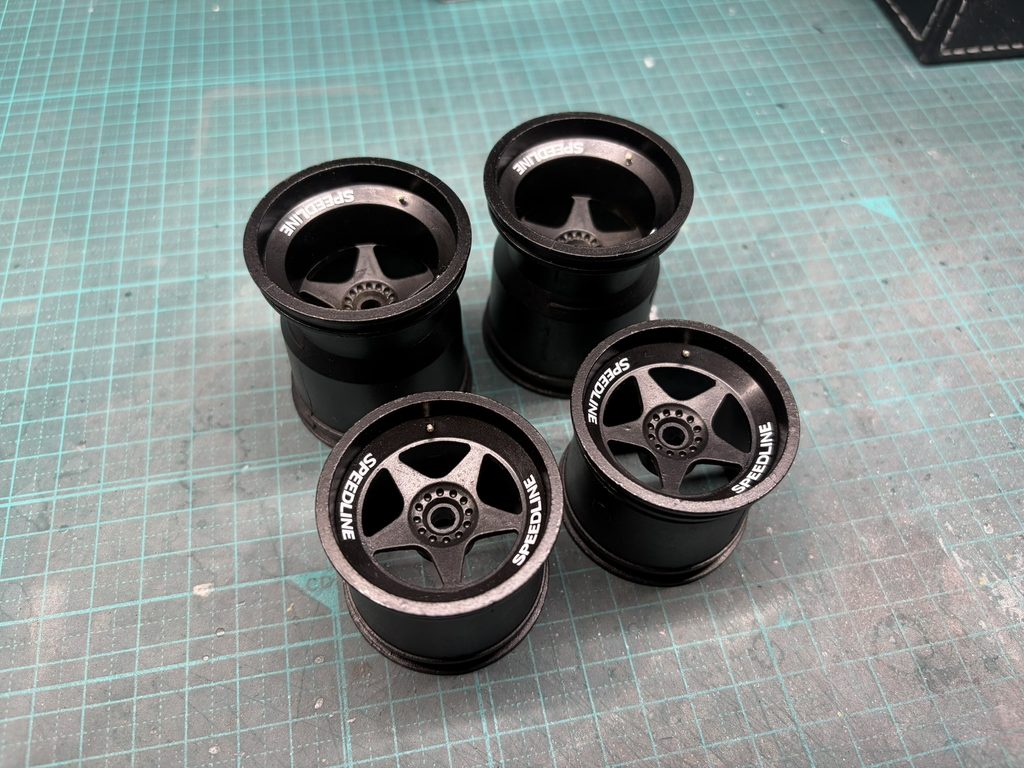
続いて、ホイールの製作に移ります。
キットではエアバルブが省略されているため、自作して追加しました。また、スピードラインのロゴデカールも貼り付け、細部を仕上げていきます。
Next, work begins on the wheels.
The kit omits the air valves, so these have been scratch-built and added. Speedline logo decals are also applied to complete the finer details.
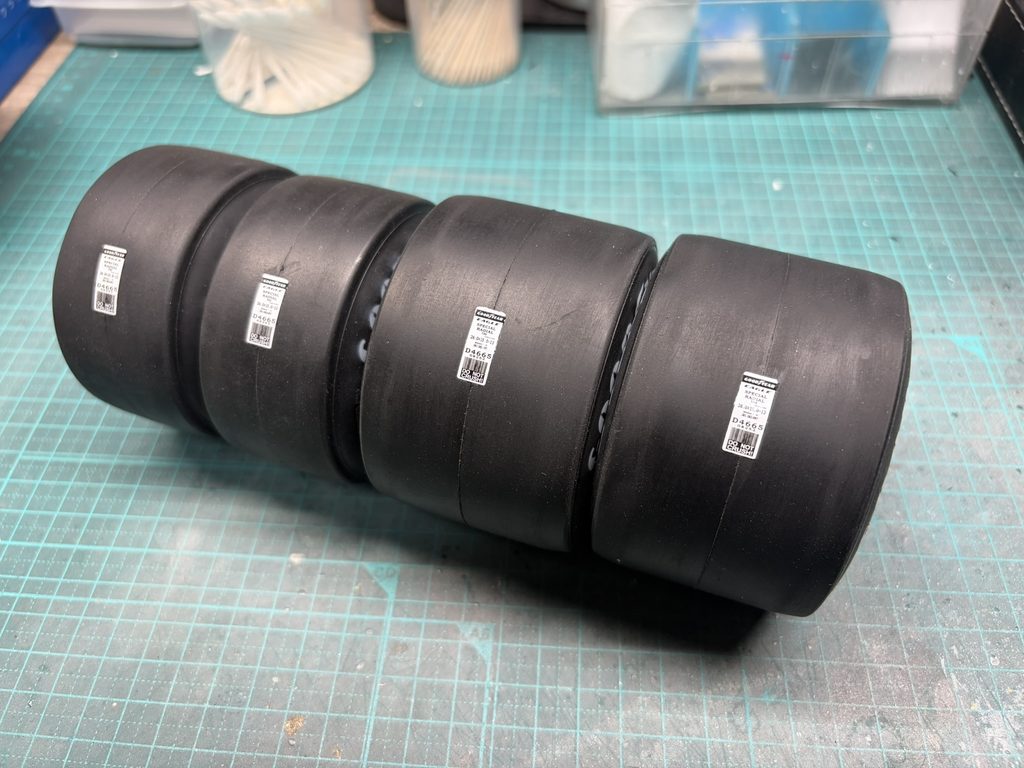
製作したホイールにタイヤを装着します。
さらに、タイヤタグも貼り付けて細部を仕上げていきます。
The tires are now fitted onto the completed wheels.
The tire markings are also applied to complete the detailing.
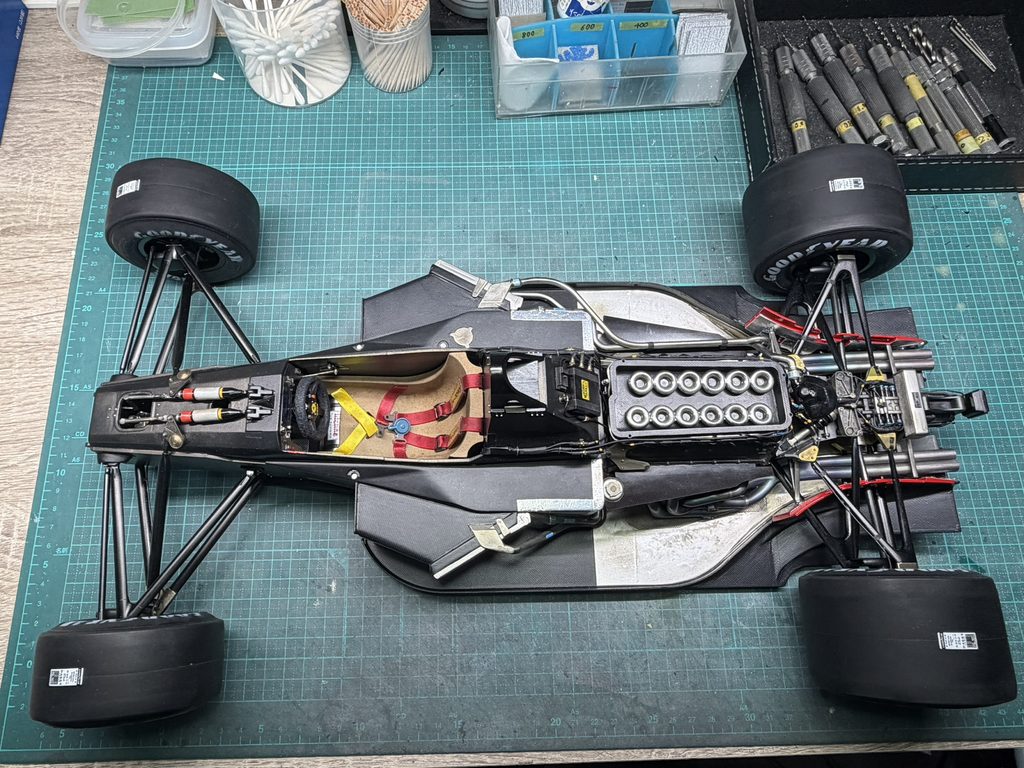
ここで、本体にタイヤを装着します。
タイヤ4本で本体を支えることはできますが、この状態で長期間展示するとサスペンションアームに大きな負担がかかってしまいます。そのため、本体底面にスペーサーを取り付けられるよう、あらかじめ改修を施してあります。
The tires are now fitted to the main assembly.
Although the model can be supported by all four tires, leaving it this way for extended periods would place excessive stress on the suspension arms. To prevent this, the underside of the chassis has been modified to accommodate support spacers, allowing the model to be safely supported during long-term display.
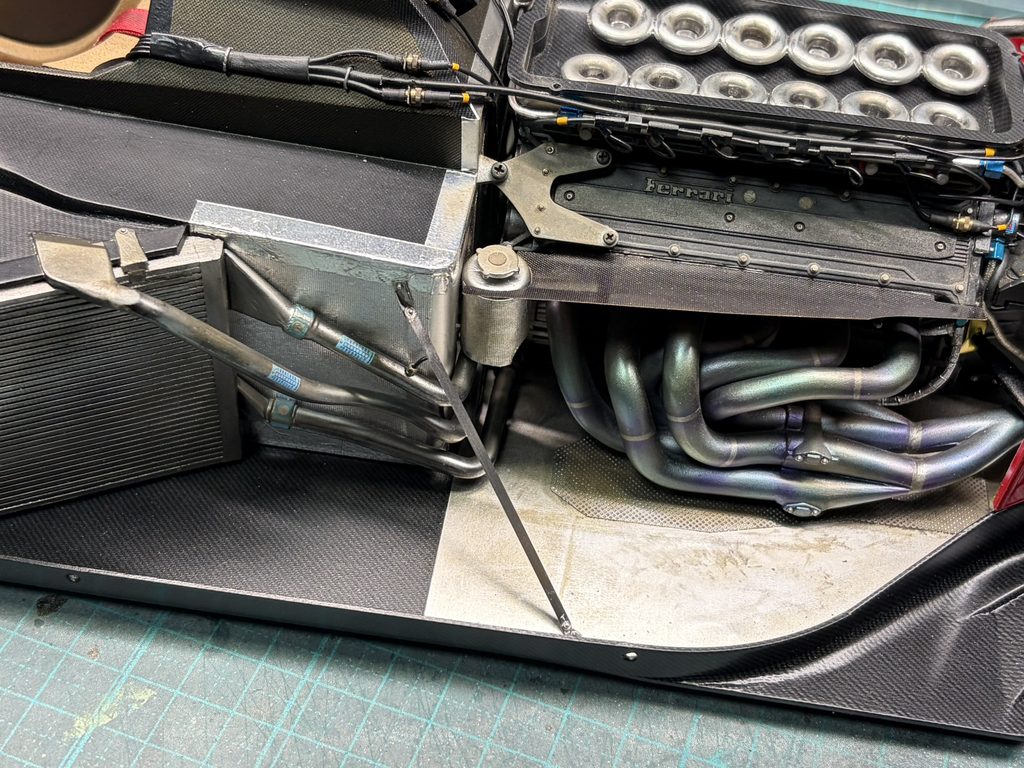
続いて、アンダートレイサポートステーを取り付けていきます。
Next, the undertray support stays are installed to reinforce and support the undertray.
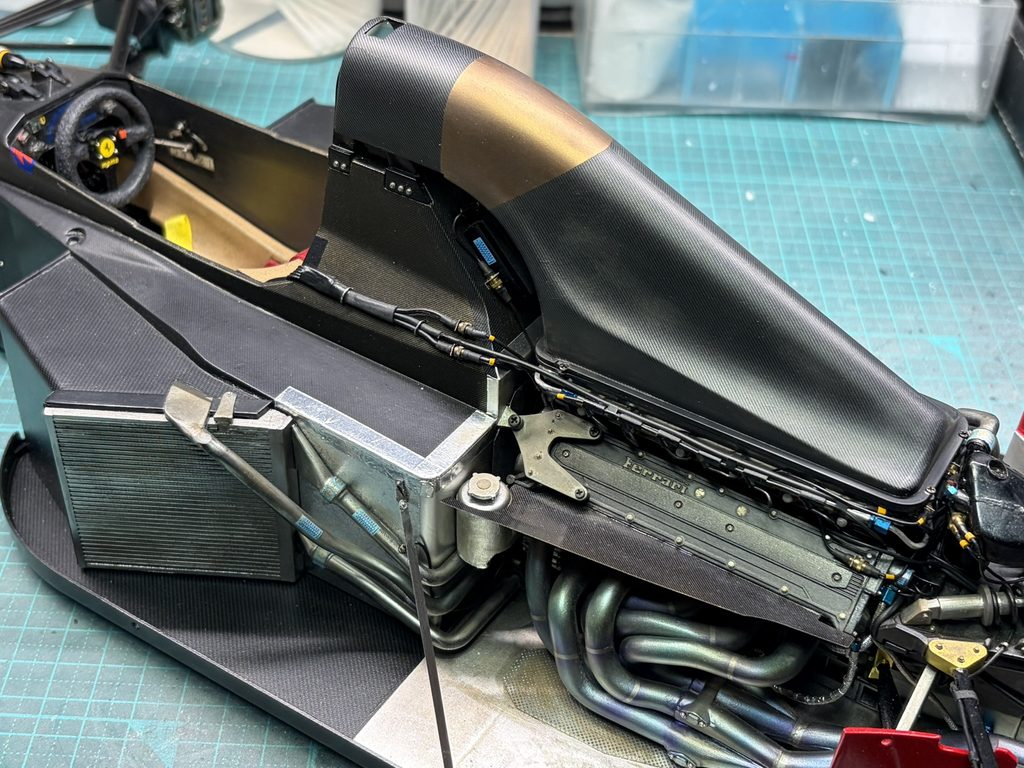
ここで製作しておいたエアボックスを装着します。
Next, the previously completed airbox is installed onto the main assembly.
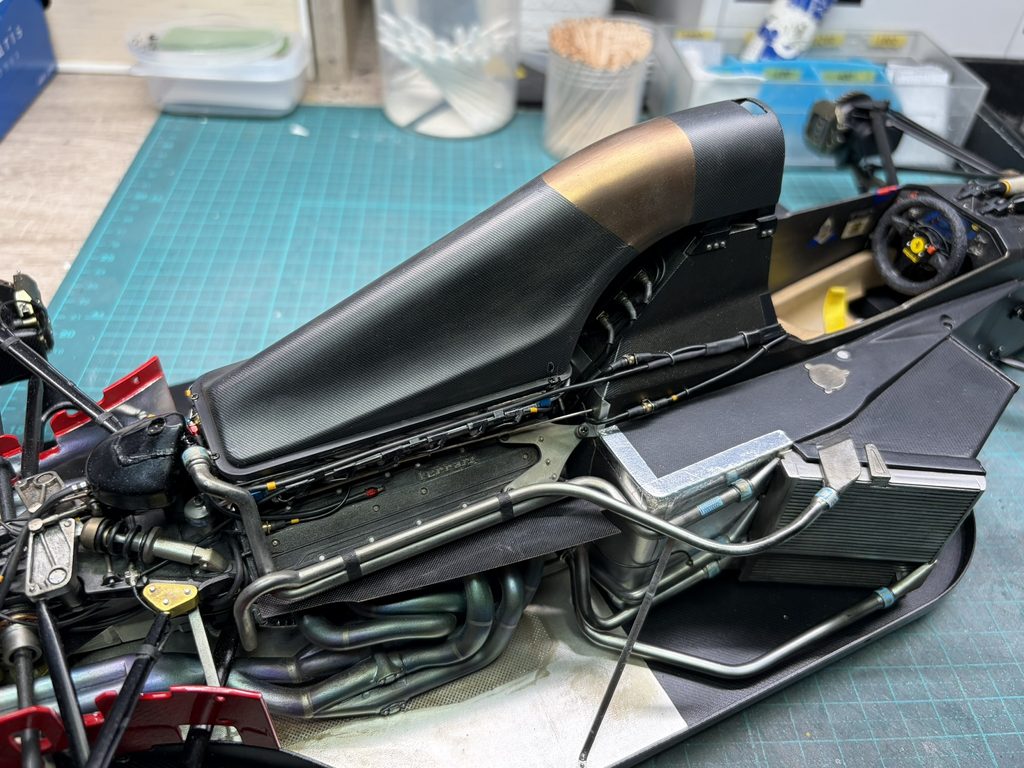
右側のアンダートレイサポートステーも、同様に取り付けていきます。
The undertray support stay on the right-hand side is installed in the same manner.